You're just one step away from your first men's haircut... Follow this DIY!
Before

After


Step 1: Installation
Put on the cape, adjusting the Velcro around your neck. It should be tight enough to keep hair out, but you should still be able to breathe. 😉

Step 2: Selecting the mower fence
Choose the right length guide for your needs. The smaller the number, the shorter it will be. The higher the number, the longer it will be. If in doubt, it's best to start with a higher number: it's much easier to repeat this step with a smaller guide, rather than the other way round. 😜

Step 3: Preparing the hair
Make sure your hair is well detangled, and dampen it. This will make them less crazy, and make it easier for you to see what you're doing.

Step 4: Insulating the long section
Determine how far you need to use the clippers, and isolate the section you don't want to touch using alligator clips.
Step 5: Cutting the short section with the clippers
We start by cutting the red section of the illustration that will be shaved. Use the clippers from the nape of the neck upwards, against the grain of the hair. Don't hesitate to go over the same section more than once: this will help you avoid forgetting any strands. Follow the movement of the arrows, as shown in the illustration. This makes for a more gradual style.

Step 6: Connecting the long and short parts
This step depends on the look you're going for. If you don't want to make a connection between the shaved section, and the section that isn't, you're probably already done! You'll have a look with hair that's really longer on top, with no edgy gradations.
If you're looking for a more classic look, you'll need to make a link between the 2 sections. Starting at the center back of the head, take a vertical section of hair, including a small section of the shaved part, and a section of long hair. Comb the hair towards you, at 90 degrees to the head, taking care to maintain tension between your fingers.
Cut off the part that extends beyond the shaved section. Use the first section as a guide. When cutting the next section, always take a centimeter from the previous section to check the length to be cut.

Step 7: Cut the hair at the crown of the head
Take the center strand at the crown of the head, and determine how long you want this section to be. To help you determine the length, try to rely on the way you style the hair. For example, if you tousle it in the air, choose a length that will help the hair hold. If, on the other hand, you prefer to keep a certain length, for example in the fringe, make sure you leave enough for the style you want. You may not have much hair to cut.
Cut a first strand, again taking care to hold it perpendicular to the head (90-degree angle). This first strand will be the guide for the others. Cut all the hair at the top in a straight line, parallel to the ground. Avoid following the curvature of the head.

Step 8: Finishing
For a perfect (or almost perfect 😉) haircut, we suggest that you soften the cut by very lightly trimming the excess "corners" of the cut, all the way around the head... To do this, the ideal way is to cut by staking, i.e. giving small strokes with the end of the chisel, to obtain a jagged effect. It's important to avoid drastically altering the beautiful work you've just done.
If you're comfortable, you can also use the clippers (without a guide this time) to shave the little crazy hairs around the nape of the neck and/or the ears. Proceed gently and delicately.

Step 9: Checking and finalizing
Check your work. Look all around the head to see if it looks well balanced, or if you've missed a section. Make adjustments as needed, always with gentle strokes of the scissors.
Any questions?
Contact us!Congratulations, you now know how to make your first haircut.
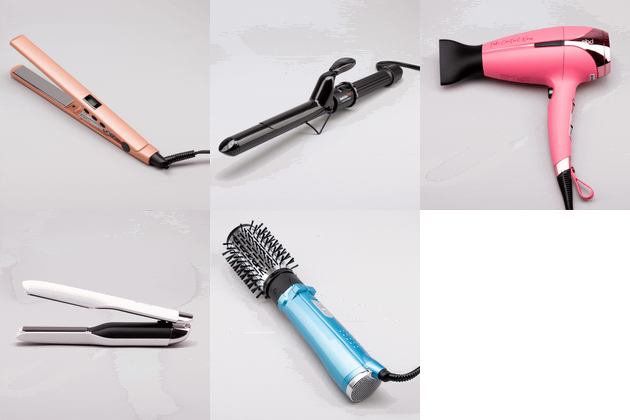
Here are the tools we used for Alex's Prêts pour la route makeover. For other options, please contact us.


